The Visdom II demo is the second major milestone in my demo career. It was created in 1992 and was the first demo I made to contribute to a computer convention. It was my first demo for a large audience. The "Halle Project" was an Atari 8-bit demo compilation organized by Carsten Schmitt (CSS) for the computer convention in Halle. This convention was the successor of the "Hobbytronic", which had occurred multiple times in the years before. Many people were impressed by the demo, and in fact, it is still one of my all-time favorite creations. Here's an excerpt from a Page 6 article
"This is the official continuation of the Hobbytronic demos comprising demos from groups all over Europe and presented on three disk sides! There are 5 demos each on sides 1 and 2 and 4 on side 3 ranging from the simple scrolling message to effects that you have never seen before on your Atari. It is not possible to detail every demo but if we could only select one it would be the Visdom demo on side 1. This has a large VISDOM logo at the top with a scrolling message at the bottom. The logo is large 'hollow' letters which are filled one by one with a rainbow scroll but what makes this quite stunning is that each rainbow scroll is different! This should not be possible! At the same time, the center of the screen is filled with blended colors in a sort of water reflection that scrolls up the screen. The total effect is amazing and nothing like it has ever been done on the Atari Classic before. This is just one of 14 demos to choose and many have a choice of music and other effects by pressing various keys (try everything). This disk set represents the very best programming to be found on the Atari as those extremely talented programmers from Europe squeeze every bit of power from the Classic. The ethos behind this demo is if we can dream it, we can do it' and boy, have they done it!"
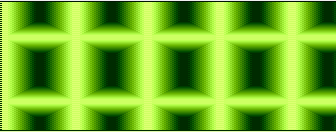
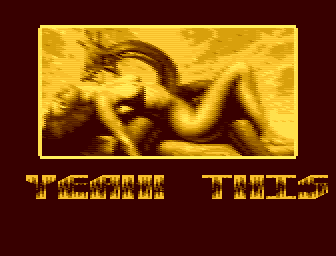
It pushed the Atari computer to expose the maximum of colors in unseen ways and exploited many effects in the hardware that were unused or even unknown at that time. Therefore, it also became a benchmark for Atari emulators later, as you can see in the screenshots of the Atari800 emulator.
The demo was unique at the time of creation, and the main reason is that the creation process was remarkable in itself. It took six months of challenging coding and designing... In 1992, I was stuck in the German army. After three months of basic military service in Holland (i.e., near the end of the world), I ended up in Karlsruhe (i.e., at the end of the world). I was the only one out of 400 soldiers there who did not live in Karlsruhe but 200 miles away.
Consequently, I was the only person left at the barracks after 4 p.m. While the hours from 7 a.m. to 4 p.m. were tedious (cleaning the room, painting the tanks, reading porn ...), the afternoon and the evening were dull. Even using retro communication systems was no fun there. 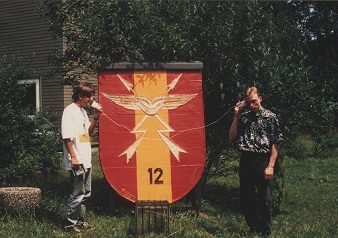
Soon, I realized that the only solution was to bring my Atari XL computer there, including the Amiga 500 cross-development system I had created for my purposes. The cross-development system called DTrans consisted of a Seka Assembler used as an editor, a modified ASM 6502 cross-assembler, a self-made connector cable to link the printer port of the Amiga with the two joystick ports of the Atari, and a self-made OS ROM for the Atari. With a set of command shell tools, it was possible to transfer single files from and to the Atari (put/get) or even to transfer complex programs consisting of several chunks of data (rec). The self-made OS ROM in the Atari checked for a pending transmission upon RESET and then booted from the Amiga with about 14 kb per second. It also contained a specialized monitor, allowing fast program analysis and finding bugs.
The later versions of the OS could also be loaded from disk into a modified BIBOMON board where I had exchanged the 16k ROM for a 32k RAM with a battery backup. Altogether, this environment was very comfortable and robust, comparable to today's cross-development using emulators. And the KickStart power-up screen in the OS is something that I miss nowadays. 
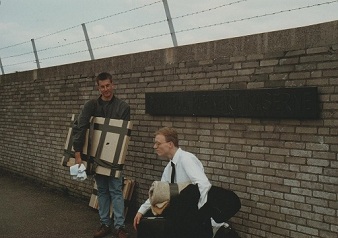
I created a large wooden box (rather than a cupboard) that contained two layers, one for the Amiga and one for the Atari. Like on a modern computer table, the layers could be individually pulled out of the box. At the bottom of the box, there was enough space to store the Amiga monitor and the TV set for the Atari. Here are some impressions from the last day in the army. In the second image, you can see my roommate carrying the parts of my wooden computer box.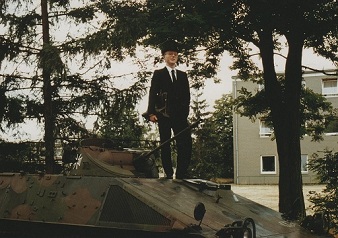
So every day at 4 p.m. I opened my magic box, put the monitor and the TV set on top, pulled the keyboards, sat on my chair before the box, and started coding. The main effects are the raster split logo, the "Wiggle", and the waving "ImpRes" pattern. The most sophisticated is the "Wiggle".
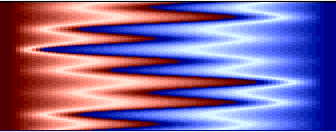
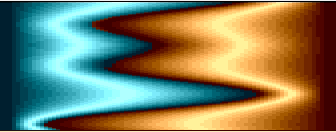
The raster split in the "Wiggle" effect uses two hardware effects simultaneously. It is based on a self-modifying kernel loop that delays the split of $d01a with single-cycle accuracy. Since this is too coarse to achieve full coverage and reach every pixel, missile 0 is used in the 5th player mode of PRIOR and quadruple width to color the missing pixels. The original version has a minor bug when choosing the random colors for the "Wiggle, " resulting in sporadic artifacts created by missile 0 in certain color combinations. Therefore, it is recommended to download this fixed version, which prevents that and is a single executable file that can be loaded from DOS. 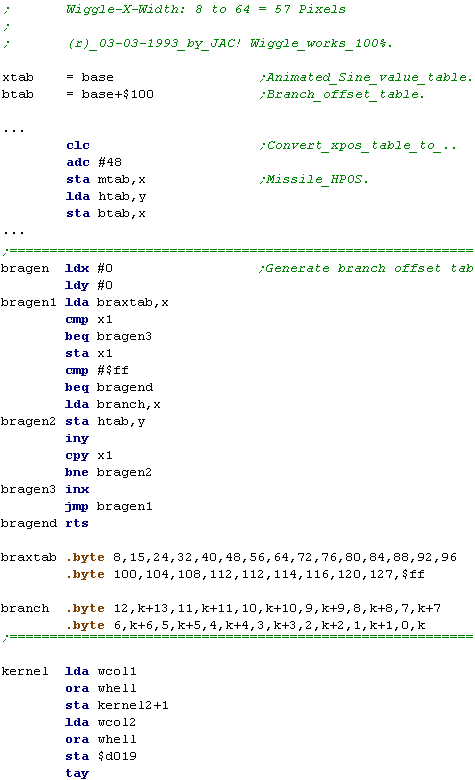
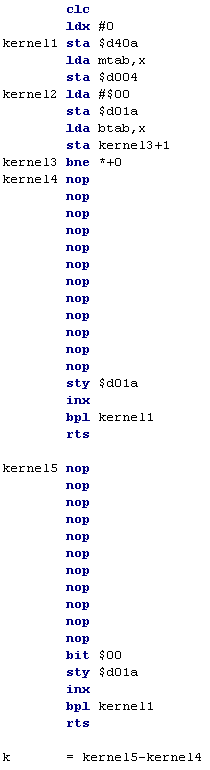
Discovering the famous "GTIA bug" was a side effect of trying to find the exact timing for the raster splits. Because the graphics 9 pixels were hard to distinguish on my old color TV, I used graphics 10 with a flashing color/luminance during the development to find the correct split and missile position. See the " braxtab " label in the source code. But the missile position wasn't right for half of the pixels when I ran the split with "GRAPHICS 9" afterward. The investigation yielded what I called "ImpRes" (Impossible Resolution) because it was a fake based on a picture pattern with a unique layout. It gives the impression of having 16 shades in "GRAPHICS 15" resolution in full overscan. 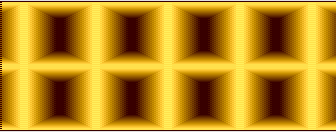
I told TLB about my findings, and he used the one-pixel delay of "ImpRes" to let the converted version of Peachy's excellent snake picture look more natural in his part on the third disk of Overmind.
 .
.
Some years later, Polish coders started to exploit the GTIA bug in all variations to create interlace pictures (HIP, RIP, TIP). And though there is no "inventor" of the bug in the GTIA, I can fairly say I was the first to exploit it. And yes - I'm fuckin' proud of it :-).
While the demo runs, you can press "HELP" at any time to display info screens (German) which explain the effects in detail, contain the greetings, and flame wars against somebody who claimed to be the coder of Visdom I, funny nonsense and state that army sux big time. Pressing "HELP" again displays the next info screen, "SPACE" returns to the demo main screen, and "SHIFT" ends the demo and loads the next part of the compilation." Finally, a hidden part ensures nobody can claim he's the coder this time.